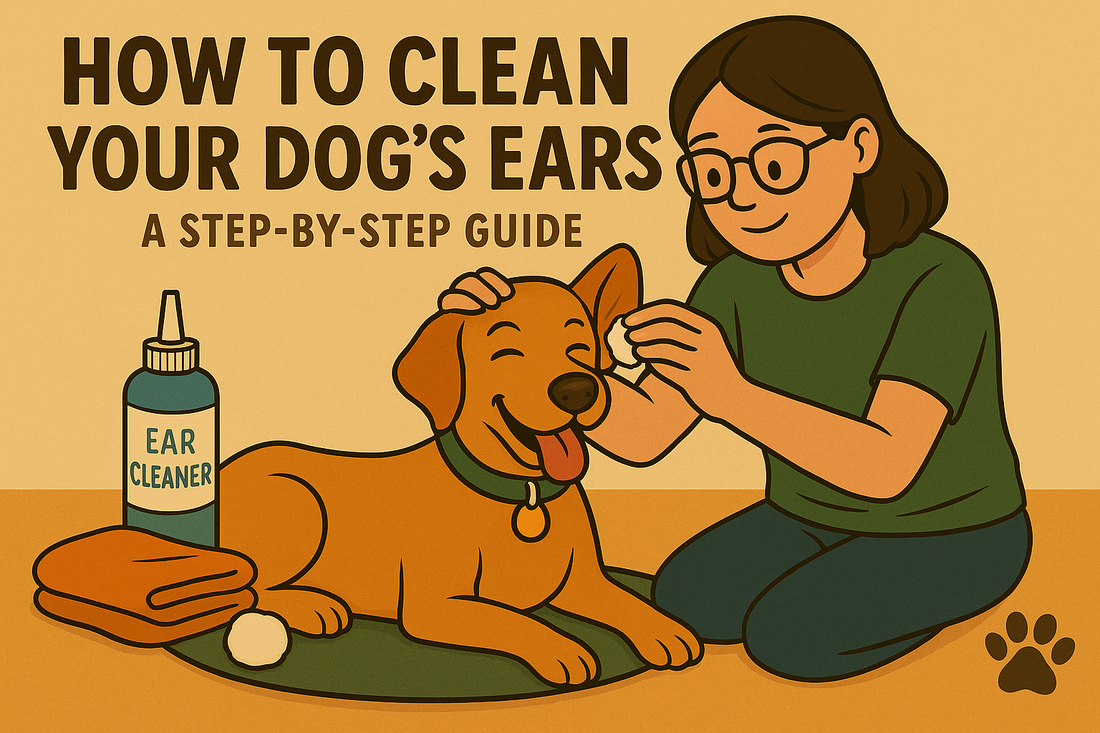
How to Clean Your Dog's Ears: A Step-by-Step Guide
Share
Ear health is a crucial part of your dog’s overall grooming and well-being. Regular ear cleaning helps prevent infections, discomfort, and other issues that can arise from neglecting this important task. Whether your dog has floppy ears or upright ears, keeping their ears clean and free of wax, dirt, and debris is essential. Here's a comprehensive guide on how to properly clean your dog's ears at home.
Why is Ear Cleaning Important?
-
Prevents Infections
Dogs are prone to ear infections, especially those with floppy ears, as moisture and debris can accumulate, creating the perfect breeding ground for bacteria and yeast. Regular ear cleaning helps prevent infections before they start. -
Reduces Odours
If your dog’s ears are not cleaned regularly, they can develop a strong, unpleasant odour due to bacteria or yeast overgrowth. A clean ear is a fresh-smelling ear! -
Prevents Ear Mites and Parasites
Ear mites and other external parasites can find their way into your dog’s ears, leading to itching, discomfort, and potential infections. Regular cleaning helps you catch these issues early. -
Promotes Comfort
Dirt, wax, or debris trapped in your dog’s ears can cause irritation and discomfort. By keeping their ears clean, you’re ensuring that your dog remains comfortable and happy.
Signs Your Dog May Need Ear Cleaning
Before diving into the cleaning process, it's important to know when your dog’s ears need attention. Look for the following signs:
- Odour: A strong, foul smell coming from the ears.
- Redness: Red or inflamed ear canals.
- Excessive Scratching or Head Shaking: These behaviours often signal discomfort or irritation in the ears.
- Discharge: Dark, waxy, or unusual discharge from the ears.
- Swelling: The ear flap may be swollen or appear hot to the touch. If you notice any of these signs, it may be time to clean your dog’s ears or consult with a vet if an infection is suspected.
What You’ll Need to Clean Your Dog’s Ears
Before getting started, gather the necessary supplies:
- Ear Cleaner: Choose a gentle ear cleaner specifically formulated for dogs. Avoid using harsh substances like alcohol or hydrogen peroxide, as these can irritate the ear canal.
- Cotton Balls or Gauze: Soft materials that won’t scratch or irritate your dog’s ears.
- Towels: For wiping up excess fluid and keeping your dog comfortable.
- Treats: To reward your dog and make the experience positive.
Step-by-Step Guide to Cleaning Your Dog’s Ears
Step 1: Prepare Your Dog
Start by getting your dog settled in a quiet, calm environment. You want your dog to feel safe and relaxed during the cleaning process. If your dog is anxious, take your time and don’t rush through the steps. You may want to have a second person help hold your dog still if they tend to squirm.
Tip: Make ear cleaning a positive experience by offering your dog a treat or praise before, during, and after the cleaning. This will help them associate ear care with something pleasant.
Step 2: Inspect the Ears
Before cleaning, gently examine your dog’s ears. Look for signs of redness, swelling, or unusual discharge. Check for any foreign objects, like grass, dirt, or plant material, that may be lodged inside the ear.
Tip: Don’t insert anything into the ear canal. Stick to cleaning the outer ear and the visible parts of the ear canal.
Step 3: Apply the Ear Cleaner
Hold the ear flap open with one hand, and with the other hand, apply a few drops of the ear cleaning solution into the ear canal. Make sure the cleaner reaches the ear canal but don’t insert the bottle too deep. Follow the instructions on the ear cleaner bottle for the correct amount.
Tip: If your dog is sensitive about having their ears touched, start by gently massaging the base of the ear to help your dog get used to the sensation before applying the cleaner.
Step 4: Massage the Ear
Gently massage the base of the ear for about 20-30 seconds. This helps the ear cleaner break up dirt, wax, and debris inside the ear canal. You should hear a squelching sound as the cleaner moves around. Don’t worry; this is completely normal.
Tip: Be gentle and patient during this step, especially if your dog is not used to having their ears handled.
Step 5: Wipe the Ear Clean
Using a cotton ball or gauze, gently wipe the inside of the ear flap and the visible parts of the ear canal. Be careful not to push debris deeper into the ear. Use a fresh cotton ball or gauze as needed to remove dirt and wax. Repeat until the cotton comes out clean.
Tip: Never use cotton swabs (Q-tips) as they can push debris further into the ear canal and potentially cause injury.
Step 6: Dry the Ear
After wiping out all the excess cleaner, use a dry cotton ball or gauze to dry the ear and remove any remaining moisture. This helps prevent the buildup of bacteria or yeast in the ear canal.
Step 7: Repeat on the Other Ear
Repeat the process on the other ear, making sure both ears are thoroughly cleaned and dry.
When to Clean Your Dog’s Ears
Not all dogs require frequent ear cleaning. For most dogs, cleaning once a month is sufficient. However, if your dog has floppy ears, is prone to ear infections, or spends a lot of time swimming, you may need to clean their ears more often. Always consult with your veterinarian for advice on how often to clean your dog’s ears based on their breed and health needs.
What to Do If You Notice a Problem
If you notice any unusual signs during the cleaning process, such as excessive redness, swelling, foul odour, or pus-like discharge, it's important to consult a veterinarian. These could be signs of an infection, ear mites, or other health issues that require medical attention.
Conclusion: Keeping Your Dog’s Ears Clean and Healthy
Ear cleaning is an essential part of maintaining your dog’s health and comfort. By following the proper steps, you can prevent infections, reduce odours, and promote overall ear health. Make ear cleaning a regular part of your dog’s grooming routine and always approach it with patience and positivity.